Showing posts with label Makeover. Show all posts

September 22, 2011

Mirror, Mirror

Apparently this mirror had lost it's powers in telling the fairest of them all, because I found it cast off to the roadside! Maybe it told it's owner she was NOT the fairest in the land or something , because otherwise who would throw away such a nice, vintage mirror? This is some quality glass, too...I took the backing off and lifted the glass out of the frame...it's about 1/4 inch thick, which is some seriously thick, heavy mirror!

 It did have a few minor issues, but nothing a little paint couldn't cure!
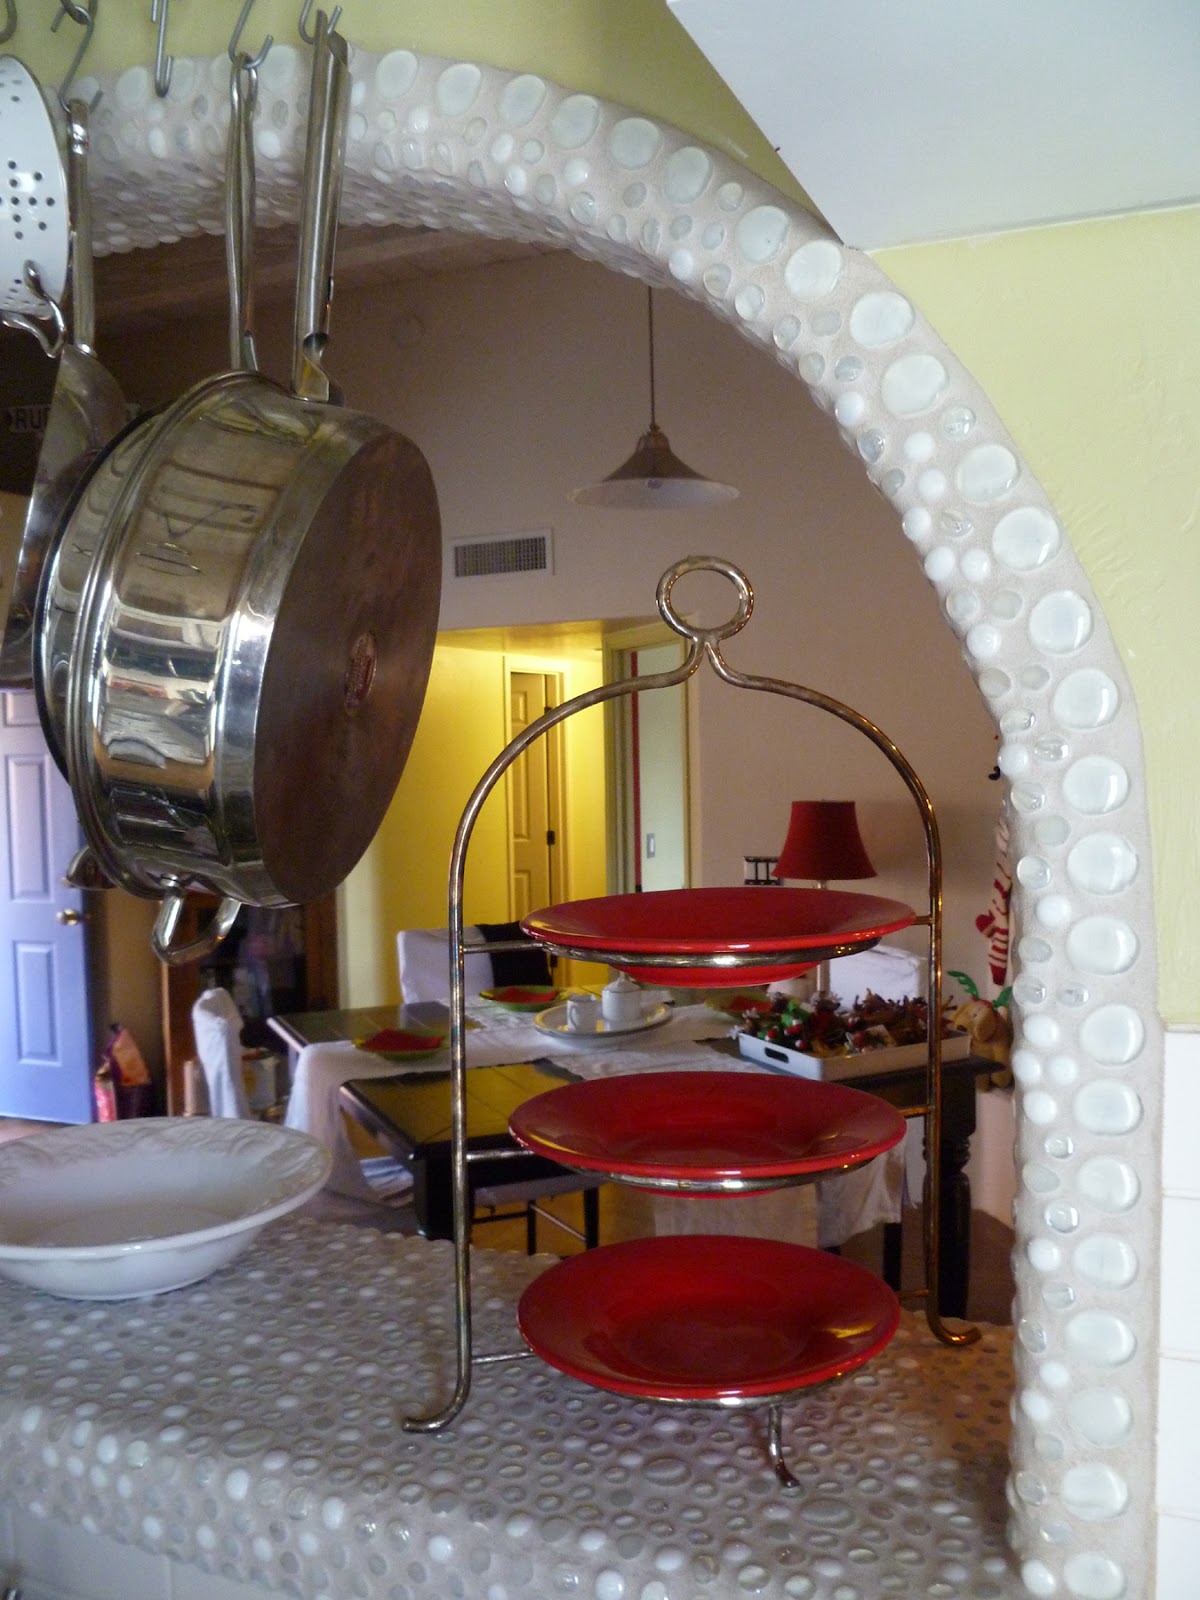
There are all kinds of tutorials on how to 'antique' mirror glass for that vintage look....I have even payed extra for vintage mirrors with some of the mirror finish wearing off, so when I noticed one edge of this mirror glass with some pock marks and worn finish, I secretly smiled....and quickly loaded it in my car!

This was my first attempt at resuscitation. Not the look I was going for, but those were the only colors I had at the time....the magic was still missing.  I let it sit for a few days and still nothing was coming to me. Then I went and looked at Martha's new line of craft paint at Michaels and got some inspiration. She has some cool applicator bottles that you can write with, draw with, or as I chose to do, make dots with!

Now, I know I said I like that vintage, worn mirror look, but I decided to cover up the part of mirror that was worn out. Martha's paint line says ' one paint- all surfaces'... glass, wood, metal, ceramics, so I wanted to test it to see if it sticks to glass. I had a template I used for the shape and traced it onto the glass with a sharpie.

I chose a palette of blues and I used the glitter, satin and pearl finish paints in various tones. I had to do several coats of paint on the glass, but it did work!

A cute color called 'pond' was the base coat for the frame.

On a side note, can I just say how difficult it is to get a photo of a mirror, while it's laying flat on a table, without getting yourself or the camera strap in the shot?!

Starting at the outside bevel of the frame, I used glitter paint to make dots all the way around......

.........and then proceeded to make rows and rows of dots! I wanted a gradated look so used subsequently lighter and lighter shades of color....some glitter paint, some pearl paint. The shape on the glass looked rather plain, so I dotted that up too!


And voila', here is the Magic Mirror, all fixed up and ready to see the fairest in the land! I love the way it turned out!


Some things I learned regarding Martha's paints: The glitter paints tended to 'flatten' out as they dried, looking not so much like raised dots (what I intended) as flat circular shapes. Conversely, the pearl paints had excellent body and remained raised as they dried. The satin paint also has great body, thick texture and excellent coverage. If I were to do this project again, I would probably stick to the pearl paint and not use the glitter at all. It was just so enticing and...glittery, but not the best choice for this particular project. I can't wait to use it elsewhere, though! Just some things to keep in mind, in case you want to try a similar look for your projects.
Now, Mirror Mirror....DO tell, who is the fairest of them all?
Thanks for visiting and here's hoping that all your projects reflect well on you!

Linking up here:


February 21, 2011

From Drab to Fab:: Easy Laundry Room Makeover and Latest Style File Segment.

 My laundry room used to be a bit of an embarrassment....Plain white walls, florescent overhead lighting, storage shelves that didn't fit the space and clutter, clutter, clutter! It was overwhelming to go in there to do the wash, but go in I did, because I had to. The rest of my home is pretty much decorated to the nines, so it really didn't make any sense to NOT do the laundry room. Actually, I have long yearned for this space to be inviting and looking good, it was always just so much easier to close the door and forget about it!  Well, not any more. In one weekend, I banished the boring and corralled the clutter into what is now a functional, bright and cheery spot to do a chore we ALL have to do. I just love the color in there now, and it really does make a daily chore that much more pleasant.
 This wire shelving unit was waaay too big in here.

It's looking better already!

Isn't this a better use of the space?!

The same room also houses my water heater and air handling unit.........
...but they're nothing a curtain can't conceal! I love soft architecture.

An extra task light helps spot stains for pre-treating.

 Details help pull everything together

So, there you go! A laundry room transformed and another room decorated. Simple fixes like changing out the florescent light for a cool moravian star, getting the laundry baskets up off the floor by hanging them on the wall with chunky, silver hooks and adding a few more shelves all staggered to work together for storage in metal bins and bright, cheery baskets. A functional, well organized and great looking laundry room.  All in a days work! Just like laundry....

Oh, and check out my latest segment on KVOA channel 4 "Laura's Style File" where I talk more about this laundry room redo. Thanks and please consider following me. It's super easy! All you have to do is click 'follow' in the right sidebar!

January 7, 2011

Before and After

L. Rudolph is a hard working, stylish woman with great taste of her own and a penchant for the best things in life.  She already had some terrific pieces of new and vintage furniture, and some architectural interest in her southwest bungalow style home.  She was tired of the existing colors though, and wanted a more subdued, clean, yet elegant look to her great room.  Using her existing furniture, we re-worked the layout and changed up the paint and tile to great effect.

 Before was a yellow wall with blue Mexican tile.  L. had lived with the tile for seven years and was just sick of it.


So starting with paint, we covered the yellow with a beautiful warm gray color called 'Tarnished Silver,' made by a local studio.  I had in mind wide horizontal stripes to help visually widen the room. I suggested the idea to L., and she was very receptive!


I custom mixed a lighter color of the gray to provide a low contrast presentation. It instantly changed the look of the room into that of a hip, uptown loft, even though this is a stand alone dwelling.  Now we needed to deal with that blue tile, which also encased her hearth and fireplace surround on the other side of the room.


I decided to simply work over the existing surface and execute a technique I have used many times in my own home, as well as that of others. Using ceramic tile adhesive, I proceeded to glue glass craft pebbles right on top of the tile.  Since I chose clear and white glass, I primed the tile first so there wouldn't be any blue showing through the back.


The process worked brilliantly, and the whole room was completely transformed.  After grouting each area and clean up, I left Ms. Rudolph to enjoy her new space.  She was excited to share her beautiful new great room with her daughter, who would be visiting from afar later that week!


This co-ordinates BEAUTIFULLY with the poured concrete counter top!


I am very pleased with the way it turned out, and hope it gives L. many years of enjoyment!

Related Posts Plugin for WordPress, Blogger...